

You poured the epoxy. Now you’re staring at it, wondering: can I walk on this yet? Step too soon, and you’ll ruin hours of work. Wait too long, and you’re wasting time. The truth is, dry time depends on more than just the clock.
This guide breaks down:
- Dry time vs. cure time (they’re not the same)
- Factors that speed up or slow down drying
- How to tell when your floor is actually ready
If you’re in Southwest Florida and want the guesswork gone, Ryan Resin handles epoxy flooring from prep to finish. We know the local climate and how to work with it.
Dry Time vs. Cure Time
Here’s the thing most people get wrong: they think “dry” and “cured” mean the same thing. They don’t. And confusing the two is one of the fastest ways to ruin an epoxy floor.
What’s the Difference?
- Dry time is when the epoxy surface feels hard to the touch. You can’t work with it anymore, but it hasn’t reached its full strength yet. It looks ready. It feels solid. But it’s not.
- Cure time is the full chemical reaction. This is when the epoxy reaches its maximum strength and durability. Until that happens, your floor is vulnerable to scratches, dents, and permanent damage.
Consider it like baking bread. The crust forms first, but the inside is still dough. Walk on it too soon, and you’ll leave footprints in that “dough.”
Quick Comparison
| Stage | What Happens | Typical Timeline |
|---|---|---|
| Dry (touch-dry) | Surface feels hard, no longer tacky | 12-24 hours |
| Light traffic | Can walk on carefully | 24-48 hours |
| Full cure | Maximum hardness and chemical resistance | 5-7 days |
Why This Matters for Your Floor
If a floor is placed back into service prior to full cure, the epoxy is at risk of permanent damage from scratching, impact damage, and staining. That “small scratch” from dragging a toolbox? It’s now part of your floor. Forever.
Here’s what can go wrong if you rush it:
- Tire marks that won’t come out
- Soft spots where heavy items sat too long
- Chemical stains from spills that would normally wipe right off
- Cloudy patches or uneven finish
Pro Tip: The Fingernail Test
Not sure if your floor is fully cured? Press your fingernail into an inconspicuous spot. If it leaves a mark, it needs more time. You can also try the tap test: fully cured epoxy makes a clear, hard sound when tapped with a coin.
At Ryan Resin, we don’t cut corners on cure time. Our team knows exactly how Southwest Florida’s heat and humidity affect the process, and we plan every job around getting it right the first time.
Factors That Speed Up or Slow Down Drying
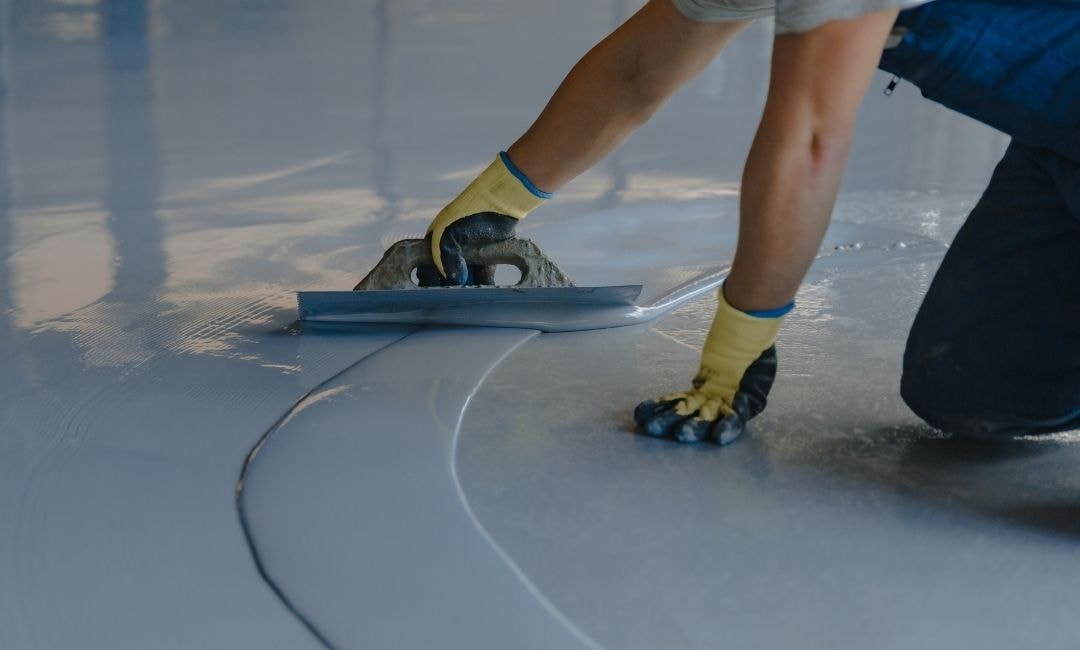
Your new epoxy floor doesn’t cure in a vacuum. The environment around it plays a massive role in how long does it take for that coating to harden properly. Get these factors wrong, and you’re looking at soft spots, tacky surfaces, or a floor that never reaches full strength.
Let’s break down what speeds things up and what slows them down.
Temperature: The Biggest Variable
Temperature plays a huge role in how fast your epoxy cures. Warmer temperatures make epoxy cure faster because the heat speeds up the chemical reaction between the resin and hardener.
The sweet spot for most epoxies? Between 70°F and 85°F.
Here’s what happens outside that range:
In a warm environment (75°F-85°F):
- The curing process accelerates
- A room at 80°F will cure resin much faster than a 65°F space
- You’ll have less working time before the epoxy starts to set
In a cold environment (below 60°F):
- For every 18°F drop in temperature below 70°F, the cure time doubles
- If your workspace is too cold (below 60°F), your epoxy might take days to fully harden
- Most epoxies will never fully cure at temperatures below 50°F
| Ambient Temperature | Effect on Epoxy Cure Time |
|---|---|
| 80°F+ | Cures faster (watch working time) |
| 70°F-80°F | Ideal range |
| 60°F-70°F | Slower cure, still acceptable |
| 50°F-60°F | Cure time doubles or triples |
| Below 50°F | May never cure properly |
Humidity: The Silent Saboteur
You might not think about moisture in the air, but your epoxy resin sure does.
Internal studies have shown that relative humidity above 60% can increase cure time by tenfold (days instead of hours). That’s not a typo. Tenfold.
High humidity, above 60%, can introduce moisture into your resin mix, causing cloudiness or amine blush (a waxy surface layer).
Signs humidity is affecting your epoxy:
- Oily, sticky, or waxy appearance on the surface
- Cloudy or milky finish instead of a clear coat
- Extended cure times with no apparent reason
Suggested humidity levels should be below 85%, ideally between 50-60%, throughout the full cure cycle.
Pro Tip: Check the Technical Data Sheet
Every epoxy product comes with a technical data sheet from the manufacturer. This document tells you exactly what conditions your specific epoxy needs to cure properly. The manufacturer’s ratio is typically given by weight unless stated otherwise. Do not assume the ratio; read the label or technical data sheet every time.
Ignore it at your own risk.
Coating Thickness Matters
Thicker isn’t always better. Larger volumes of epoxy generate more heat during curing, which can lead to issues like cracking or cloudiness if not managed correctly.
Most epoxy adhesives and floor coatings are designed for specific thickness ranges. Apply epoxy too thick, and you risk:
- Bubbling from trapped heat
- Uneven curing (hard on top, soft underneath)
- Cracking as the material shrinks
For epoxy resin table top projects or deep pours, many pros recommend multiple thin layers rather than one thick pour.
How to Make Epoxy Cure Faster
Need to speed things up? Here are some proven methods:
- Raise the ambient temperature to 75°F-85°F using space heaters or climate control
- Use a heat lamp placed 12-18 inches above the surface (not too close)
- Warm your materials before mixing by placing bottles in warm water for 5-10 minutes
- Reduce humidity with a dehumidifier or air conditioning
- Apply thinner coats that cure more evenly
If the area you’re working in falls below that range, consider using a space heater or heat lamp to increase the temperature. Just take care not to overheat the space, as excessive heat can introduce bubbles or cause the resin to cure too quickly.
What Not to Do
Some shortcuts will ruin your floor:
- Adding extra hardener won’t make the epoxy cure faster. You cannot speed up the cure time by adding more hardener; doing so will actually prevent a full cure because the chemical balance is disrupted.
- Using a hair dryer can push air bubbles into the surface and leave marks
- Direct flame heaters release exhaust gases that contaminate the surface and affect adhesion
Weather and Seasonal Considerations
Planning a resin project? Timing matters.
Seasonal changes can significantly affect the epoxy curing process. For instance, projects in winter may cure differently than those done in summer due to fluctuations in temperature and humidity.
In Southwest Florida, humidity is a year-round concern. Summer months bring both heat and moisture, which require careful climate control during installation.
How to Tell When Your Floor Is Actually Ready

Here’s the frustrating truth: you can’t always see when epoxy is completely cured. The surface might look perfect. It might feel hard. But underneath, the chemical reaction could still be working its way to full strength.
So how do you know when it’s safe to use your floor? Let’s break it down.
The Epoxy Floor Timeline
As a general rule, here’s how long it takes for epoxy to cure at each stage:
| Stage | Timeline | What You Can Do |
|---|---|---|
| Touch-dry | 12-24 hours | Nothing yet |
| Light use (soft shoes, careful walking) | 24-48 hours | Light foot traffic only |
| Heavy foot traffic | 72 hours | Move around freely, light items |
| Vehicle traffic | 5-7 days | Park your car |
| Full cure (maximum durability) | About seven days | Everything |
It’s recommended to wait at least 7 days before parking a vehicle on the epoxy floor. This gives the final coating enough time to reach its full chemical and scratch resistance.
In cooler temperatures, add time. If temperatures are cooler, please allow four to five days for the surface to cure before light vehicle traffic. Southwest Florida’s climate generally works in your favor here, but garage temperatures can still vary.
Simple Tests You Can Do at Home
Don’t trust your eyes alone. Try these quick checks:
- The Fingernail Test: Gently press your fingernail on the epoxy surface. If it leaves no indentation, the epoxy is likely cured. Do this in a corner or a hidden spot so any mark won’t be visible.
- The Knuckle Test: Gently tap the surface with your knuckle. A fully cured coating produces a hard, solid sound rather than a dull thud.
- The Tape Test: Apply a piece of masking tape to the floor and then peel it off. If no epoxy comes up with the tape, the floor is cured.
The Smell Test Fresh epoxy has a strong chemical odor that fades as curing completes. If you still smell that sharp chemical scent, give it a bit longer.
Why 72 Hours Isn’t Enough
Many clients ask: “Can I walk on it after three days?”
Yes, you can. But that doesn’t mean the floor has reached its full strength.
Products may be dry in 24 hours to walk on and curing. Though the full cure time is normally stated by manufacturers as 5-7 days. This is when these materials reach their full chemical and scratch resistance.
Think of it this way: at 72 hours, your floor is like a fresh cast on a broken bone. It’s holding things together, but it’s not ready for a marathon.
The type of epoxy matters too. Special epoxy formulations designed for commercial settings may have different cure rates. Some create a durable coating faster, while others take a bit longer to reach maximum hardness.
What Happens If You Rush It?
Patience pays off. Here’s what can go wrong if you don’t let the epoxy to cure properly:
- Tire marks that become permanent impressions
- Scratches from dragging furniture or equipment
- Soft spots where heavy items sat too long
- Hot tire pickup where warm rubber bonds to uncured epoxy
This means that you should avoid putting heavy furniture or appliances on any new epoxy coatings until the full cure is complete. Otherwise, you run the risk of damaging the new floors.
Check the Technical Data Sheet (TDS)
Every epoxy product should come with a technical data sheet from the manufacturer. This document tells you exactly how long to wait based on:
- Temperature ranges
- Humidity levels
- Recommended traffic timelines
- Full cure specifications
Always read and follow the exact timing on your product’s technical data sheet. If your installer doesn’t reference this, ask for it.
A Note on New Concrete
Planning to apply epoxy to a freshly poured slab? Hold on.
Standard specifications recommend a minimum 28-day cure period for “green concrete” before an epoxy floor coating or other resinous system can be applied.
New concrete releases moisture as it cures. If you seal that moisture in with epoxy too soon, you’ll end up with bubbling, peeling, or adhesion failure. New concrete can look dry well before it is ready to be coated.
The application process for new concrete requires moisture testing before any coating goes down. Skip this step, and you’re setting yourself up for problems.
When Can You Actually Use Your Floor?
Here’s a realistic timeline for most residential garage floors:
- Day 1: Stay off completely
- Day 2: Light foot traffic in soft shoes (if needed)
- Day 3 (72 hours): Walk freely, move light items back in
- Day 5-7: Park vehicles, resume normal use
- Seven-day mark: Full chemical resistance achieved
Most epoxies reach full chemical cure within 7 days of application.
If you want your floor to dry faster, focus on maintaining proper temperature and low humidity during the cure period. But don’t cut the seven days short. The full cure time can take up to 28 days (though many floors do cure faster, typically within about seven days).
At Ryan Resin, we don’t just install your floor and disappear. We walk every client through the full cure timeline, so you know exactly when to walk, when to move furniture, and when to park. Our team uses high-performance polyaspartic topcoats that generally take less time than traditional epoxy to reach full strength, meaning you get back to using your space faster without sacrificing durability.
Ready to Get the Cure Right with Ryan Resin?
Epoxy flooring isn’t complicated, but timing is everything. Rush the process, and you’ll pay for it later with soft spots, tire marks, and peeling. Give it the time it needs, and you’ll have a floor that lasts for decades.
Key takeaways:
- Dry time and cure time are not the same thing
- Most epoxy floors need 72 hours before foot traffic and seven days before parking vehicles
- Temperature and humidity dramatically affect how long it takes for epoxy to cure
- Always check the technical data sheet for your specific epoxy product
- New concrete needs at least 28 days to cure before any coating goes down
- Simple tests like the fingernail and knuckle test help confirm your floor is ready
If you’re in Southwest Florida and want a durable coating done right the first time, Ryan Resin has you covered. Our team handles proper preparation, monitors conditions throughout the application process, and uses advanced polyaspartic topcoats that create a completely cured, long-lasting finish you can count on.
FAQs
What is the fastest way to dry epoxy resin?
Raise the ambient temperature to 75°F-85°F. Increasing the room’s temperature by even a few degrees can have a high impact on your epoxy’s cure rate. Use space heaters, heat lamps, or climate control to create a warm environment.
Keep humidity below 60%. Avoid shortcuts like adding extra hardener, as this disrupts the chemical reaction and prevents proper curing. For a faster cure, choose a quick-set formula designed for speed.
What will epoxy resin not stick to?
Epoxy won’t adhere to low-energy, non-porous surfaces. Epoxy will not stick to: High-Density Polyethylene (HDPE), Teflon, Polyethylene, Polypropylene, Nylon, Mylar, and Silicone. Anything that has a waxy, oily, or greasy coating will not bond to resin. That’s why silicone molds work so well for casting. Surfaces treated with release agents, wax, or oil will also resist adhesion.
Why is my epoxy still tacky after 4 days?
Sticky resin is typically caused by inaccurate measuring or undermixing. If your epoxy hasn’t hardened after four days, one of these issues is the culprit:
-Incorrect resin-to-hardener ratio
-Insufficient mixing (less than 3-5 minutes)
-Workspace too cold (below 65°F)
-High humidity during the curing process
Resin that remains sticky days after being poured will stay sticky indefinitely until measures are taken to fix the situation. You’ll need to scrape off any wet material and apply a fresh, properly mixed coat.
How do you know when epoxy is fully cured?
You can tell that epoxy is cured when it is hard to the touch and is no longer sticky. Try these quick tests:
–Fingernail test: Press your nail into the surface. No indentation means it’s cured.
–Tap test: Knock on it with your knuckle. A hard, solid sound indicates full cure.
–Sanding test: Fully cured epoxy cuts cleanly and releases dry powder, while undercured films tend to gum up the paper.
How long should you let epoxy sit?
It depends on what you’re doing with it. For light use, wait at least 72 hours. For heavy traffic or parking vehicles, wait about seven days. While many epoxies cure overnight, a complete cure typically takes about seven days. In cooler temperatures, add a bit longer to each stage. Always check the manufacturer’s technical data sheet for specific guidance on your type of epoxy.
Can resin dry in 3 hours?
It is possible for resin to dry in 3 hours, but this will depend on the temperature and humidity conditions, as well as the type of resin used. Quick-set formulas and UV-curing resins can achieve this in a short amount of time.
With a resin curing machine, you can have your resin craft cured within 2-3 hours. Standard floor epoxies, though, need much longer. In general, it’s not a good idea to try and force the epoxy to dry faster than it’s meant to. For flooring applications, plan for one week to reach full strength.

